River Walk with the New Freewell x Dunna Did It Filters
When Freewell reached out to me with some new filters they had worked on with YouTuber Dunna Did It, I was very excited, 1) I have followed Dunna for a good few years now, so to be amongst some of the first people to test out his new filters was very cool, and 2) the filter I use for my video work is a VND and it gives a colour cast in certain lighting situations which is a bugger to edit.
I took them down to my local river to test them out doing some long exposures, something that I want to get more experience at, but also it doubles as a scouting trip for dippers ….
Once parked up, my first port of call was just at the edge of the car park. There is a lovely stone bridge over the river, and with some rapids further up, there were some bubbles in the water that, I hoped would be an interesting feature in my first set of images. I was using the Sony 16-35 f2/8 GM ii lens on my Sony A7iv (didn’t want to risk the A7v in the river 😅), and waded out into the river with my camera on the tripod to set up. This was my first attempt at photographing in a river before, so I was playing it safe and not going too far out, though I did manage to get water running into my welly, as I thought I could take one more step … lesson learnt!
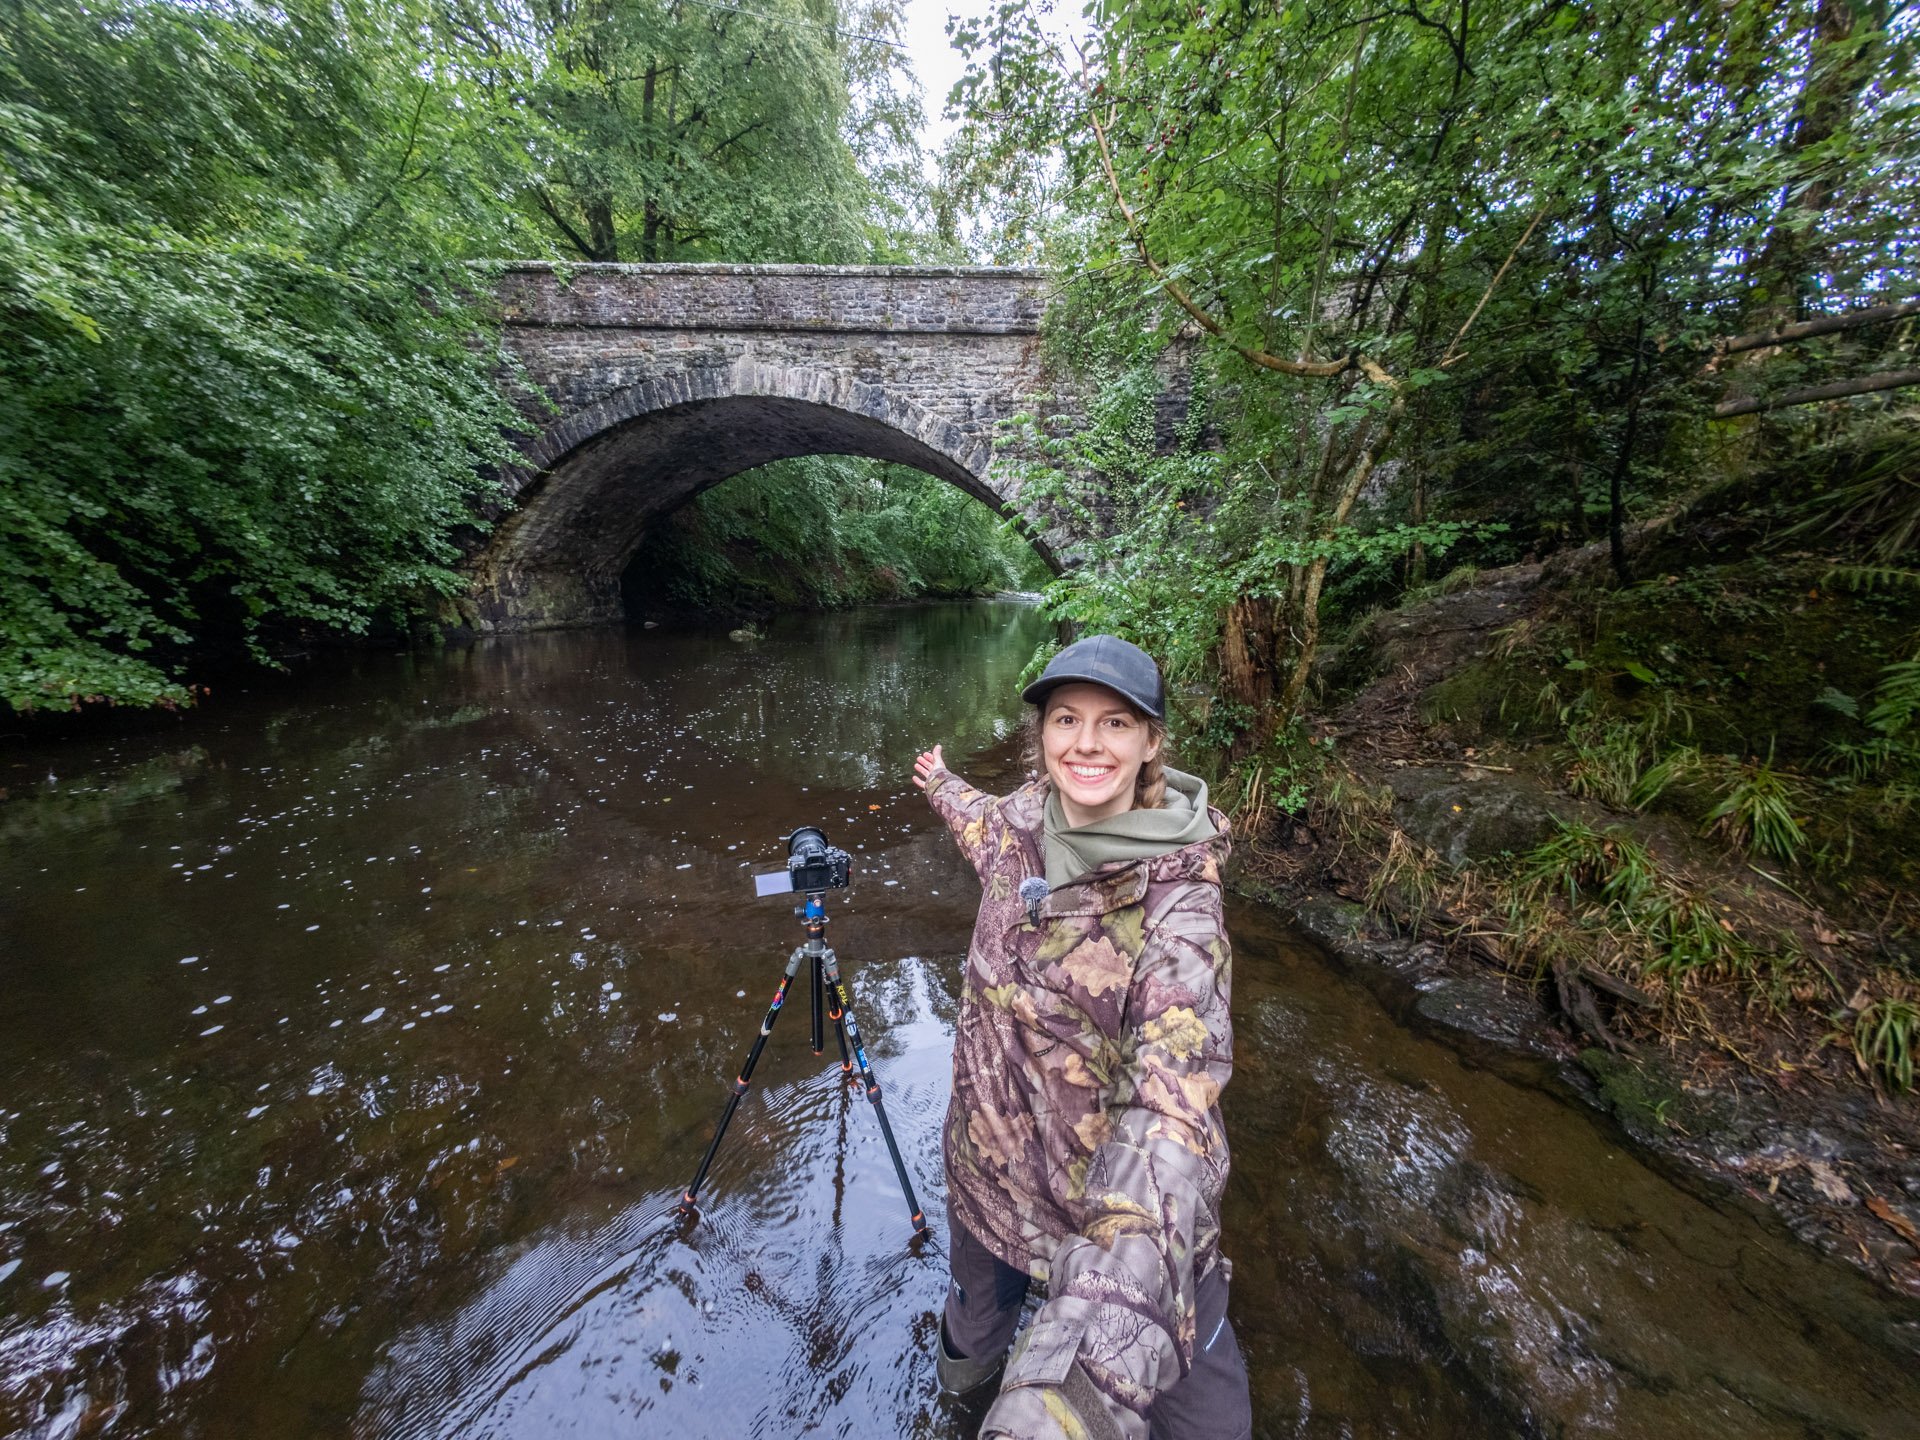
With the camera set up it was onto taking my first image. I had left the filter kit in the car and only had on the circular polariser (CPL), and rather than wade back out, get the filters, and set up again, I held firm on my decision and stayed put.
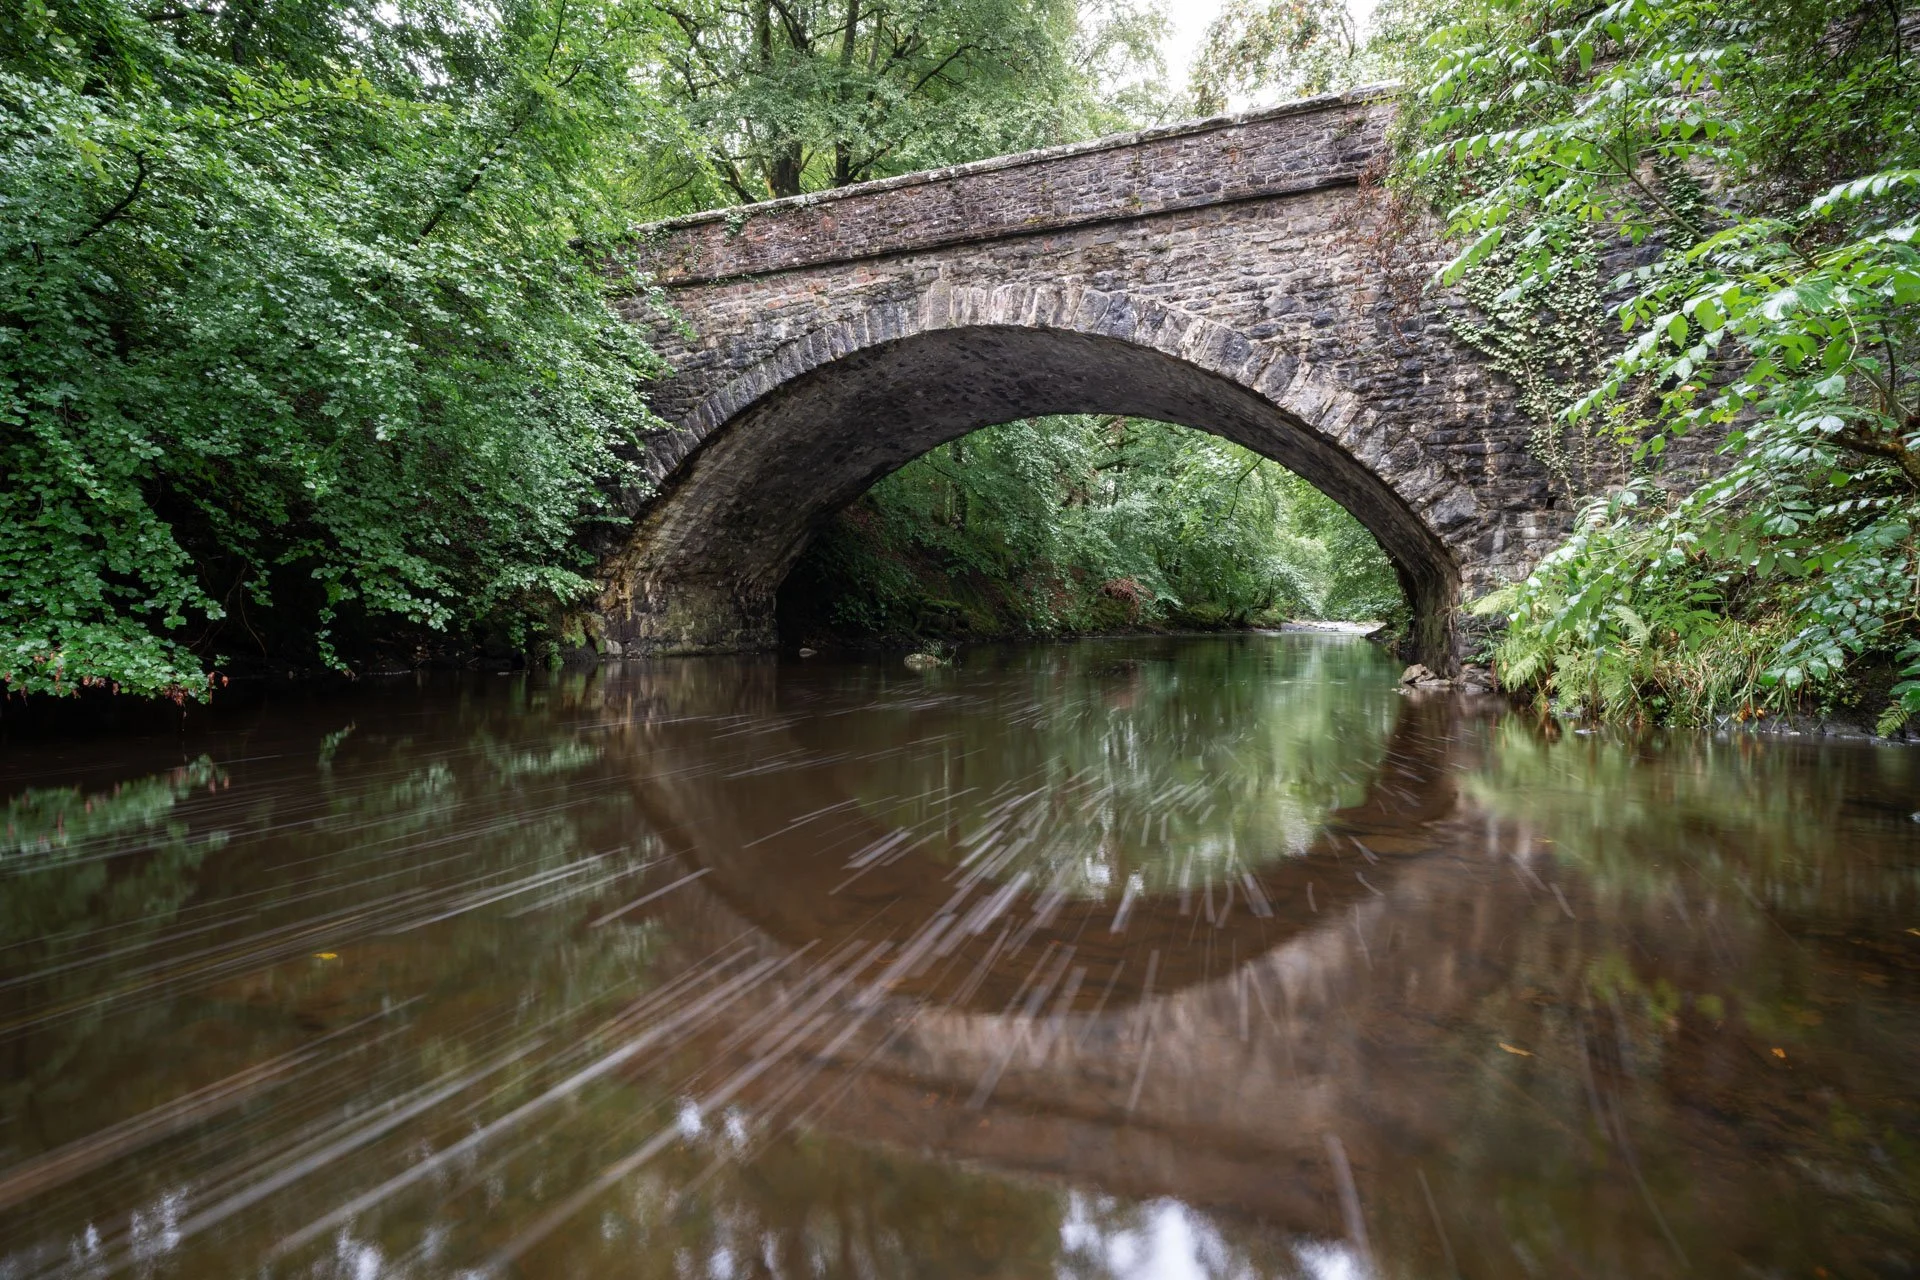
I set my camera up with the CPL on full at 16 mm, f/18, 1.6s, iso 100 and focused on the bridge, I set a 2 second timer and was using the electronic shutter to reduce any vibrations there could be through me pressing the shutter button or the mechanical shutter moving, and then crossed my fingers that the tripod was sturdy enough to stay still in the river. The CPL cut down all the reflections in the water so you could see the stones at the bottom of the river, leaving our bubbles as streaks through the image. I am really pleased with how this image came out, and so you can see the power of the polariser, use the sliders on the image below to see what maximum and minium polarisation look like with this filter.

With our first images captured, it was on to find another location. I left the car park and set off on my walk, there were a few spots that allowed me to get river side, but the river was a bit cluttered with lots of plant growth in the middle of it. I was using the OS maps to try and find the stepping stones that were marked on, as I thought this would be a great subject for us. However, upon finding them, I realised why there were no images online of them … they were pants!
I headed back to the main river, as I had passed over a tributary via a bridge that I thought would make a great second subject for us. After carefully crossing the river (thankfully it was very low, so this was easy) I found a spot that I thought would work. I set the camera on the tripod with the central column inverted so I could get the camera nice and low down for a more dramatic image.
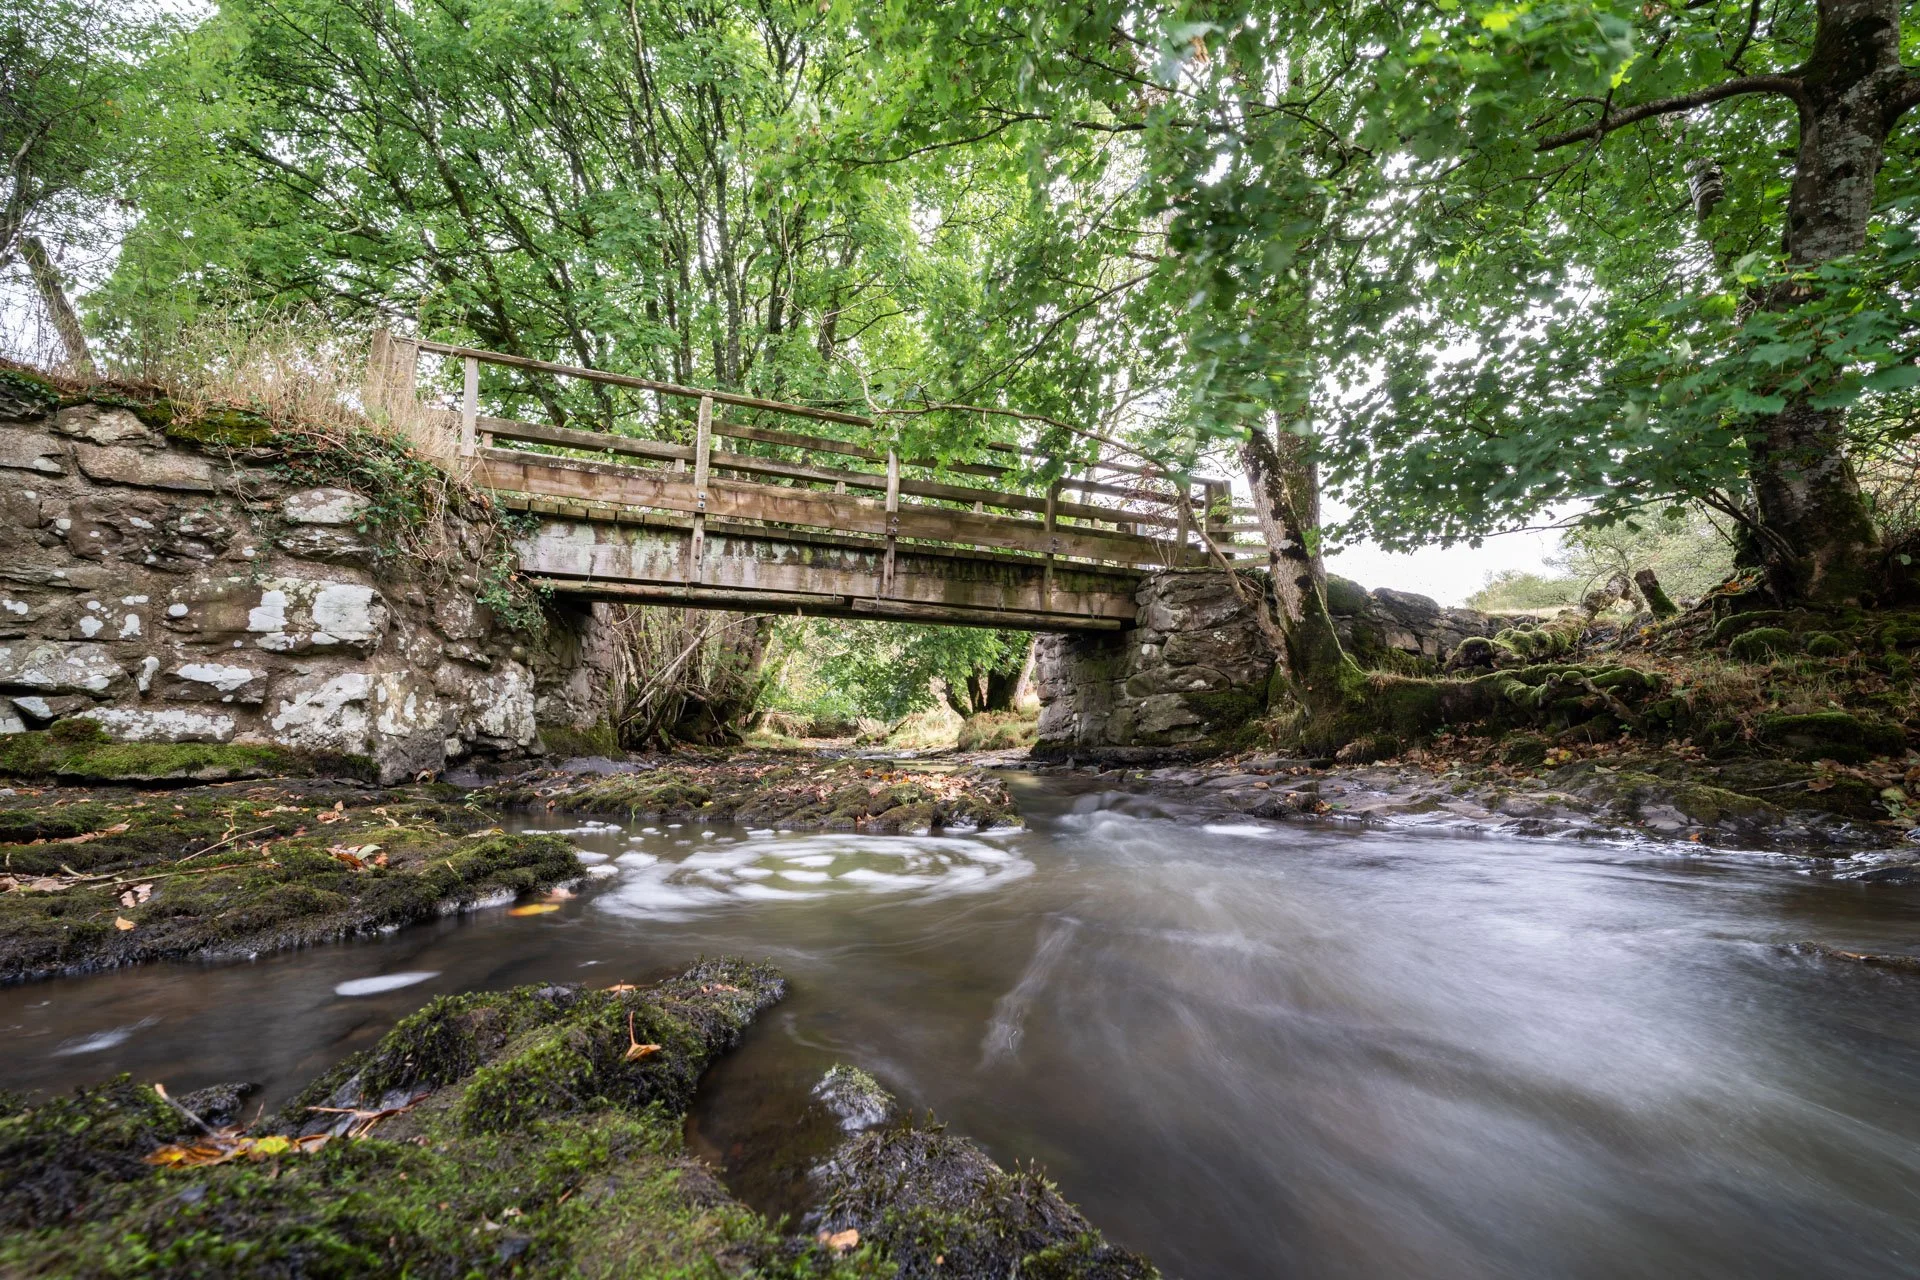
Here I had the CPL to it’s maximum effect and used the 3 stop (ND8) filter, to be able to get an even slower shutter speed. Again I had the camera on a 2 second timer, to reduce vibrations and this time I was at 16 mm, f/14, 1.6s, iso 100. I like how the bubbles were forming in a bit of a whirlypool off to the left, but I think the water on the right is a bit distracting, as it was flowing much faster, and there was not much in the way of photographable bubbles.
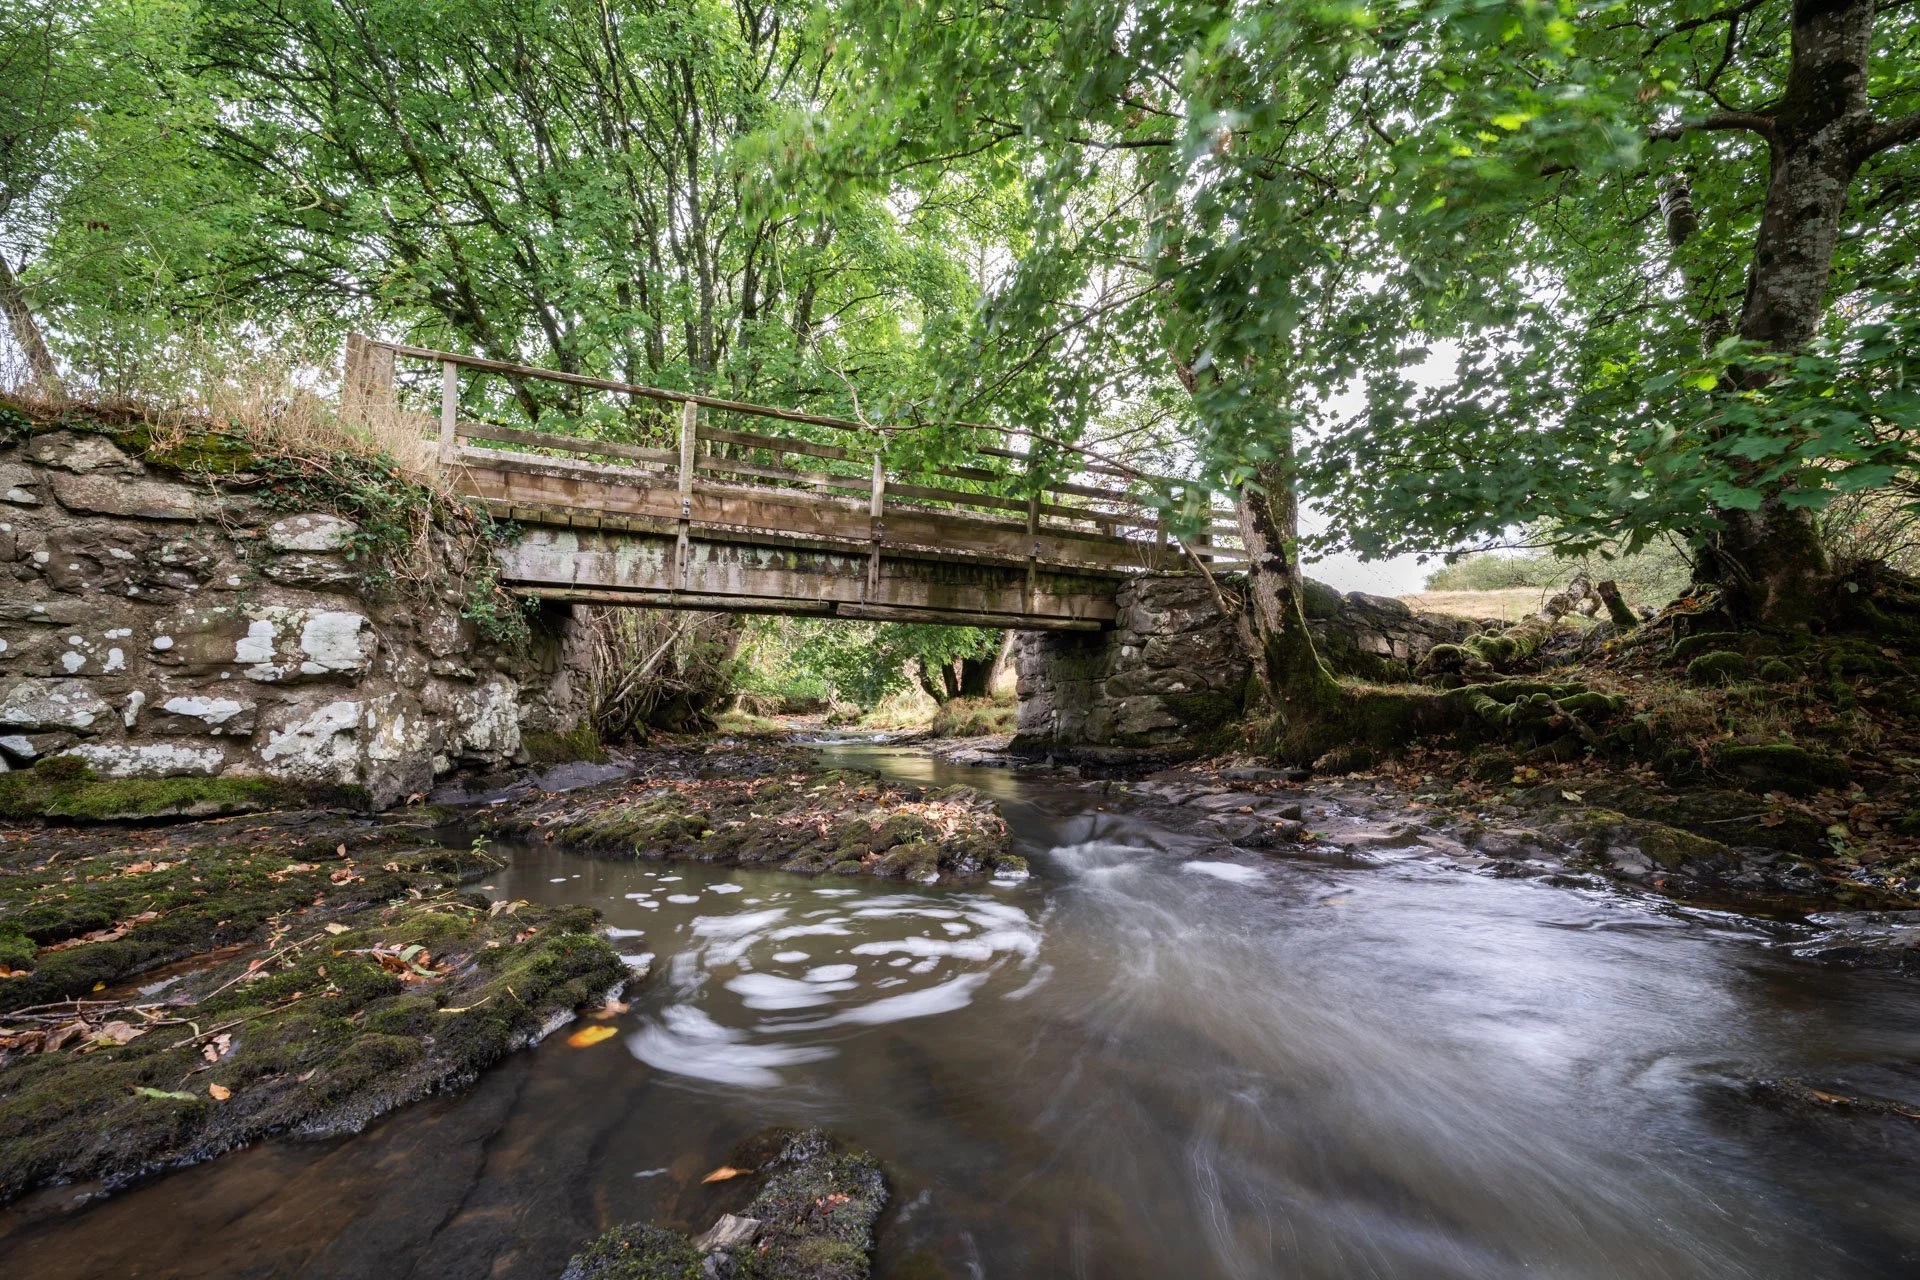
Next I set the tripod up a little higher, to get a slightly different perspective. I like how the CPL has cut down the reflections in the water so you can see the bedrock in the shallows on the left and as this is my first serious … semi serious attempt at intentional long exposure photography I don’t think I did too badly.
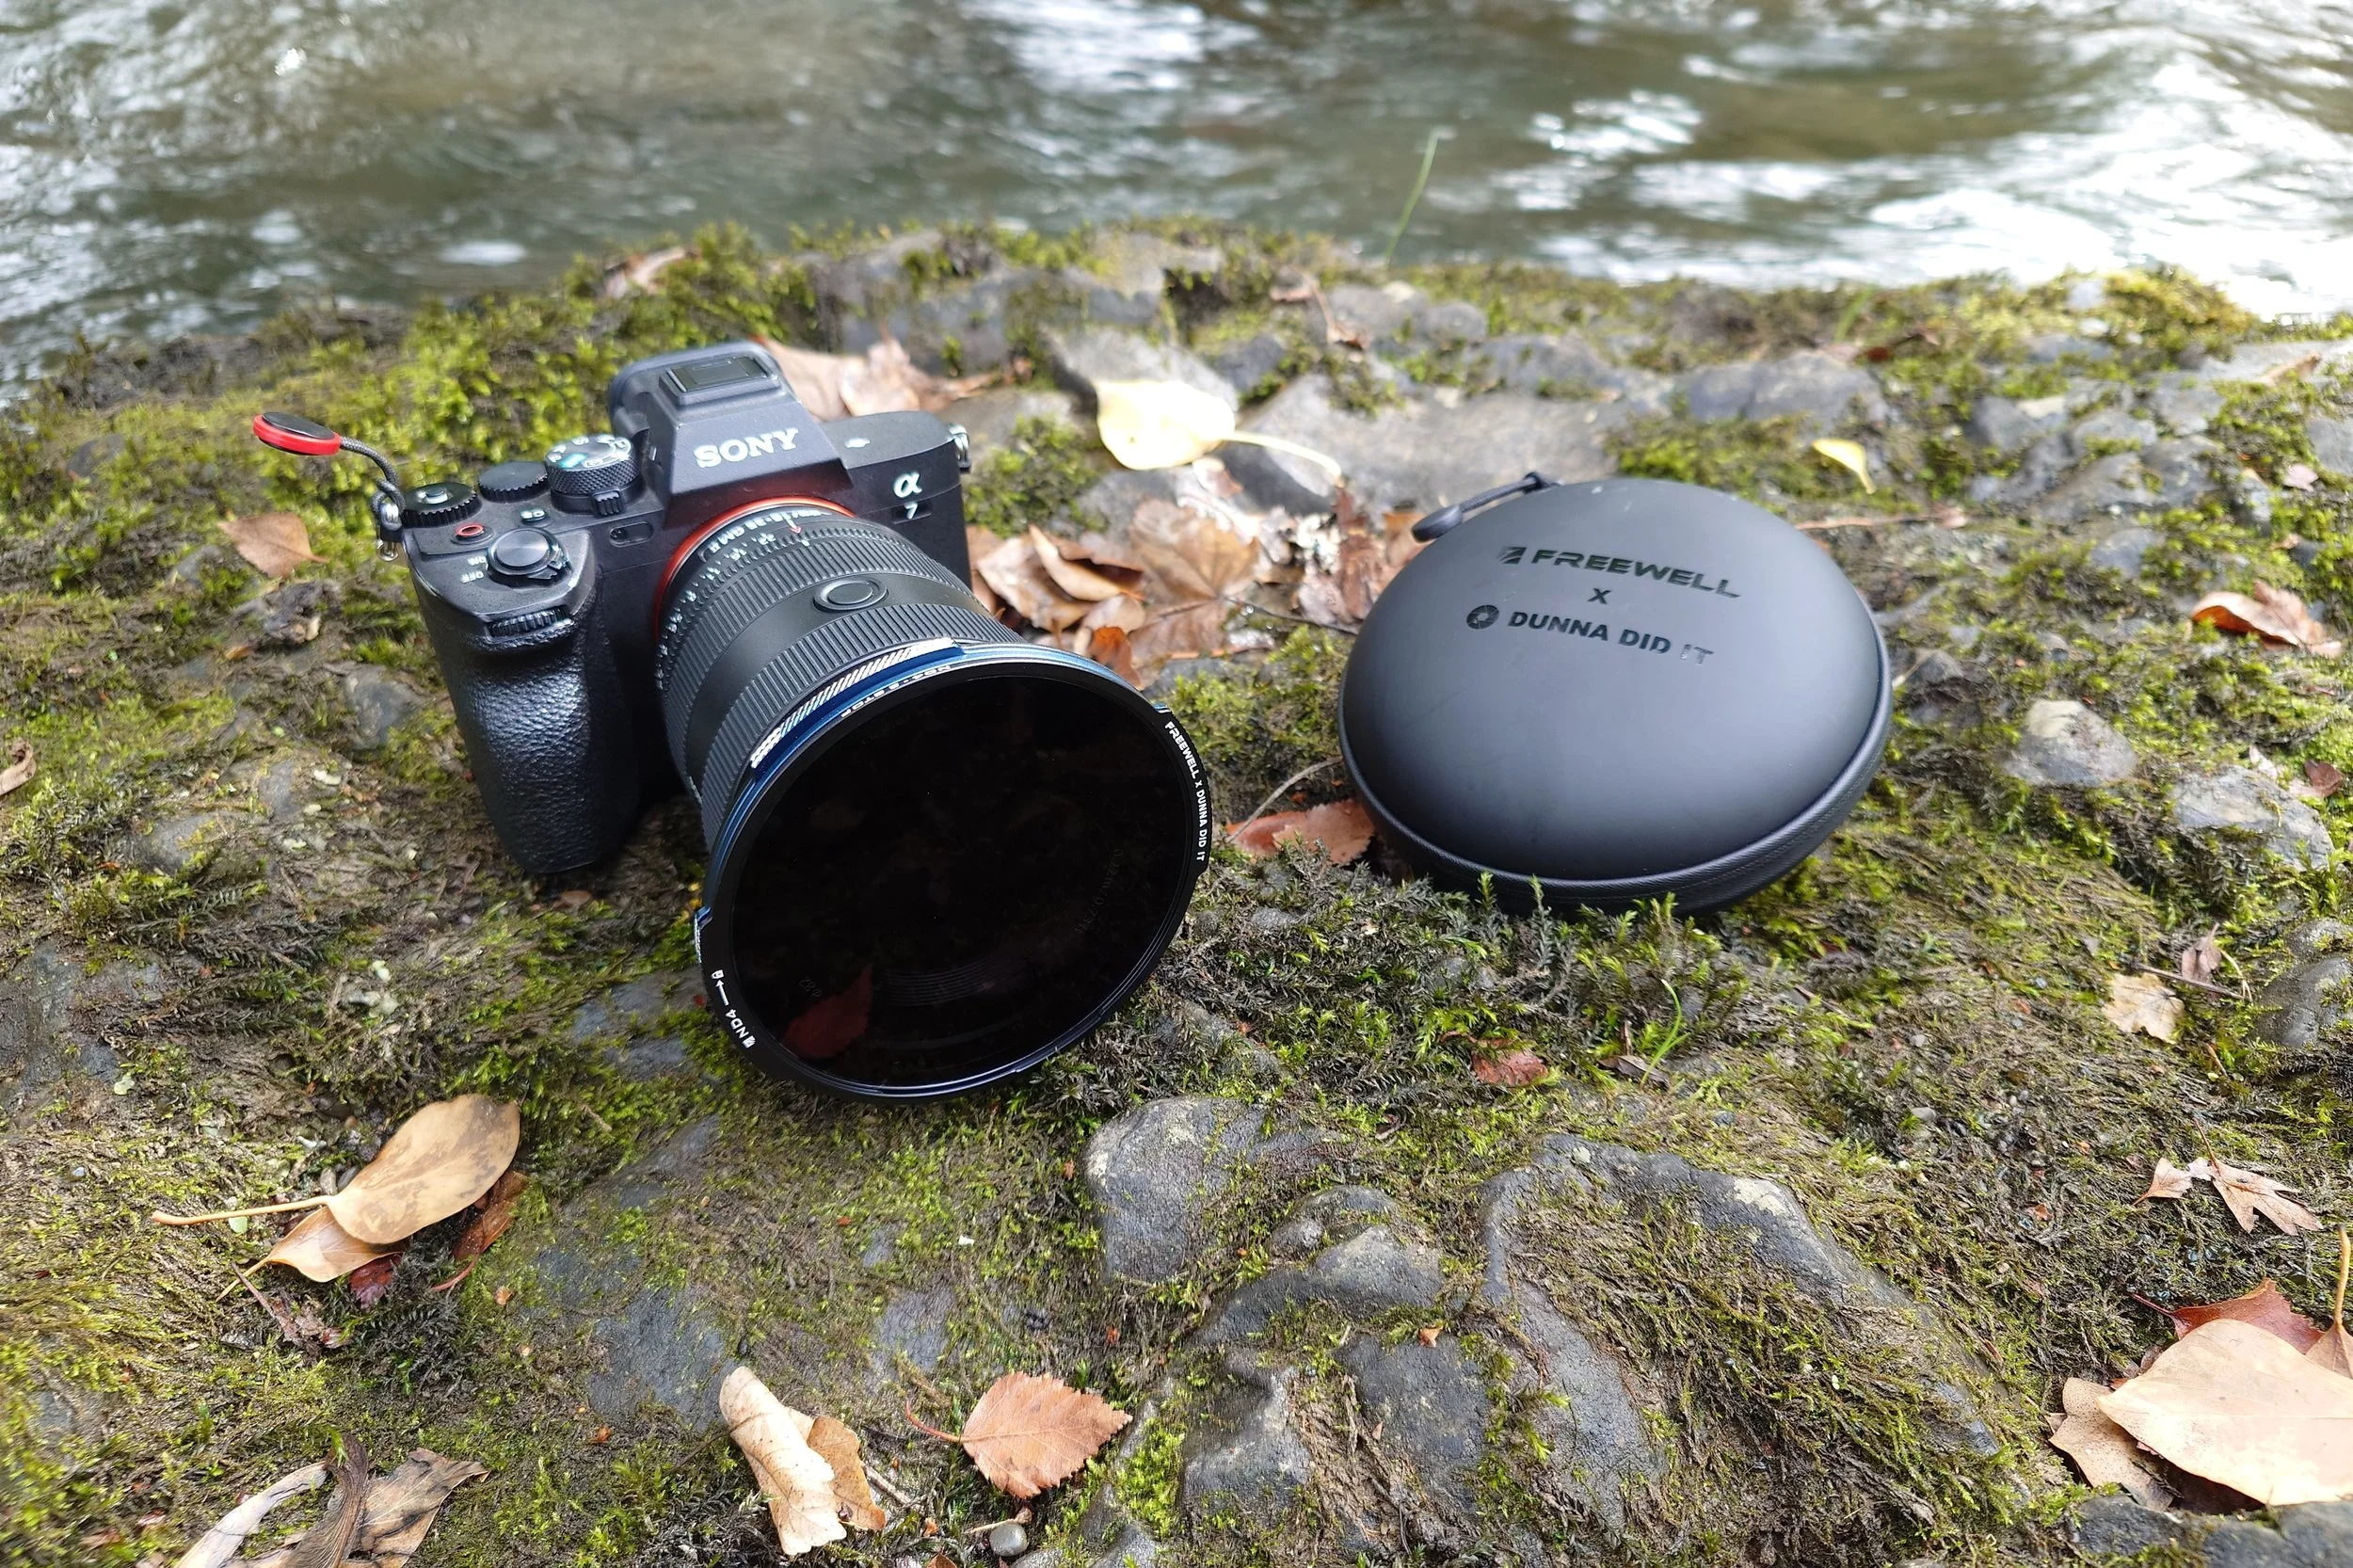
With the images captured it is time to talk more about these new filters from Freewell X Dunna Did It. They are all sized to fit a 95mm lens, and then you have different sized base rings to used depending on your size of lens. I went for the 82mm as my landscape/main video lenses are both 82mm, however I will be getting the 95 base ring so that I can use it on my wildlife lens.
The video kit comes with 4 ND filters, the ND 4, 8, 16 and 32, a ¼ glow mist filter and front and back caps. I also have the circular polariser which comes with the photography kit, along with a UV filter, NDs 64 and 1000 a 1/8th glow mist and the front and back caps. They also come with this handy carry case, which you can add the included clip to and hang on your bag, or you can just carry the filters themselves with the front and back caps fitted.
I really like how the filters are lockable as well as magnetic so with a twist of the filter, it is secured on there and is not going to pop off. Another feature that is really handy is that the NDs are also marked with the stop number, so if you are like me and have no idea what stop an ND8 is, then you can just check and see that it is a 3 stop, and this also helps for stacking as its easier to add them up based on the stops.
Because these filters are so thin, you can easily stack them, knowing that there isn’t going to be any degradation in image quality, vignette or colour cast. So while I think I will be adding the ND64 and 1000 to my set in future, I can also stack my 2 and 4 stop filters to get 6 stops.
Now downsides, you can’t fit a lens hood on when using these filters which for most people is normal, however, if you saw my video photographing the lighthouse near Tobermory, the filter I used there, allowed me to use the hood on my lens and stopped some of the rain from getting onto the filter and potentially ruining my images.
For me, I know I am not going to use the glow mist filter, though I know they get used a lot in video production, I think that it is a bit unnecessary in the photography kit, and I would rather there be and additional ND filter - and I have the same feeling over the UV filter in that kit as well.
I would like to see in the kits, an extra font cap, as when you do you out to shoot with these, if you haven’t got the carry case with you, then you are going to have to choose whether to put the end cap on your lens with the filter on, or to put it back on the stack of lenses that are now loose in your bag or pocket, without a front cap.
I have really enjoyed using these filters, and while you have only seen a little bit of what they can do here, these are definitely going to be my go-to filters for landscape work as well as when I get to use my proper camera for video work. The fact that they lock on and won’t plop off and fall into a river and get washed away never to be seen again is a great feature, but the main pull for me is that there is no colour cast that I have to contend with when editing my images or video.
If you are interested in picking yourself up a set of the Freewell X Dunna Did It filters, you can also use the code Dunna10, for 10% off your order.